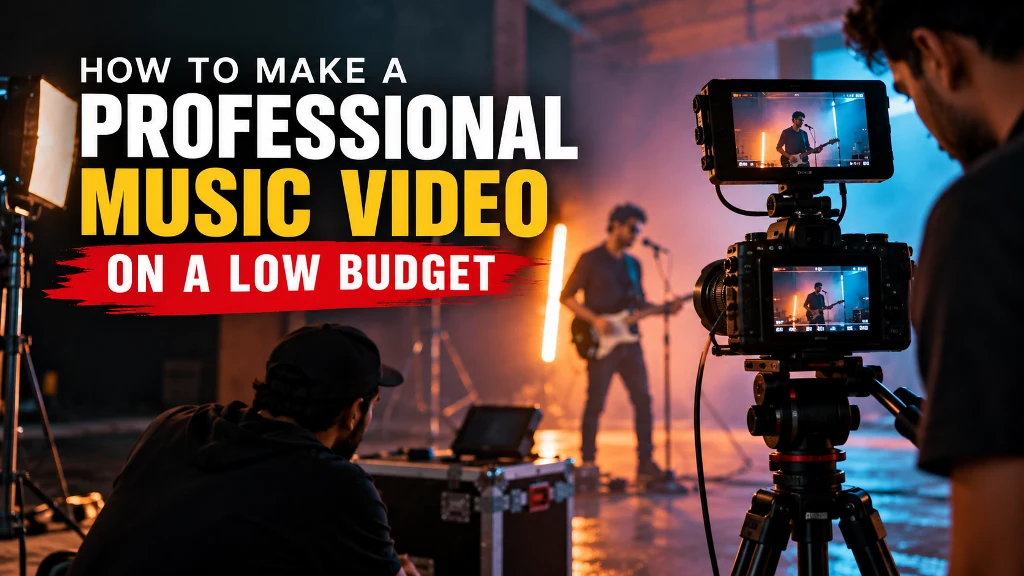
Making a professional music video does not always require a huge production budget. With a strong concept, careful planning, the right locations, controlled lighting, and an efficient editing workflow, independent artists can create a video that looks polished without spending a fortune.
The biggest mistake is thinking that an expensive camera automatically creates a professional music video. Production value comes from how you use the resources available to you.
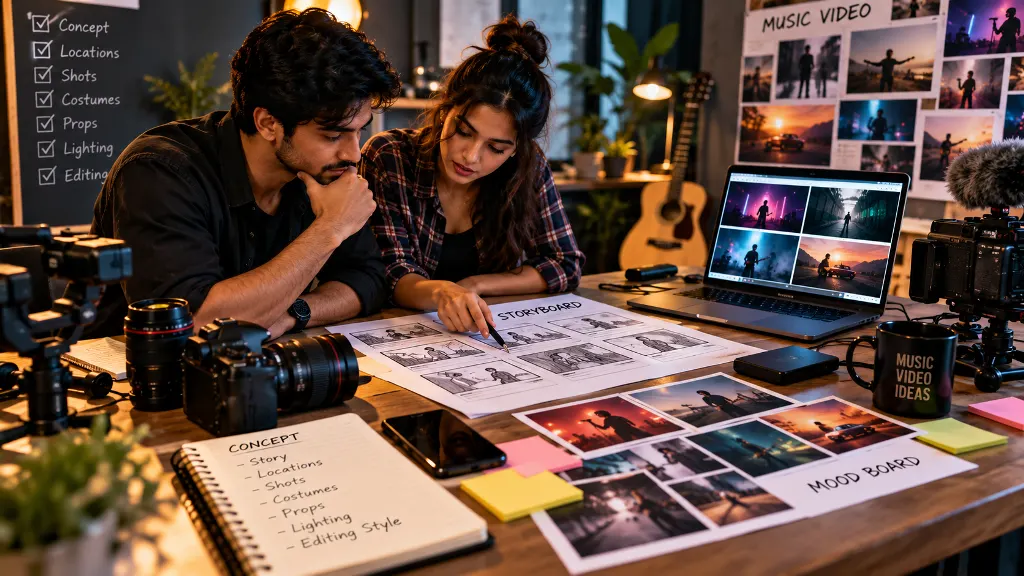
1. Start With a Strong Music Video Concept
Before choosing a camera or location, decide what the video should communicate.
Your concept should match the mood, lyrics, genre, and personality of the song. A simple idea executed well can look much better than an expensive production with no clear creative direction.
For example, a low-budget music video could be built around:
- A single interesting location
- A performance-based concept
- A simple narrative
- A visual journey through different environments
- Creative lighting and silhouettes
- Performance shots combined with cinematic B-roll
Write down the main idea before you start shooting. This will help you avoid spending money on unnecessary equipment, locations, or additional shooting days.
2. Plan Your Video Before Shooting
Good pre-production can save more money than expensive equipment.
Create a simple production plan covering the scenes, locations, performers, costumes, props, camera shots, and shooting schedule.
A basic shot list might include:
- Wide establishing shots
- Medium performance shots
- Close-up performance shots
- Walking or movement shots
- Detail shots
- Creative B-roll
- Story scenes
Knowing exactly what you need before arriving on location can significantly reduce wasted shooting time.
3. Choose Locations Carefully
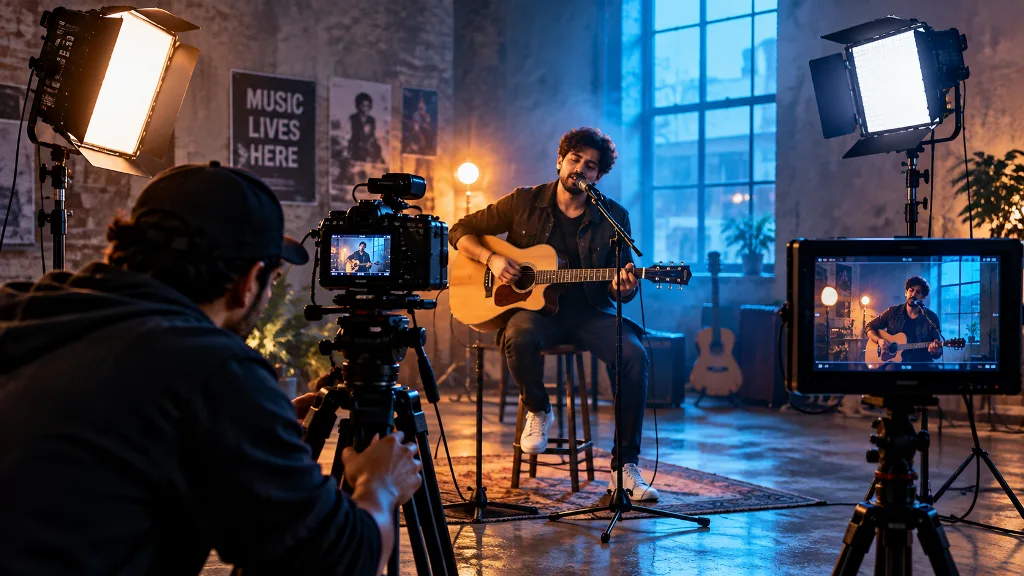
You do not need an expensive studio to create a cinematic music video.
Look for locations that already have interesting visual elements such as dramatic architecture, natural landscapes, textured walls, empty streets, rooftops, forests, industrial spaces, or interiors with attractive lighting.
One strong location can often provide enough visual variety for an entire music video if you use different camera angles, lenses, lighting setups, and compositions.
Always confirm whether permission is required before filming at a location.
4. Use the Camera You Already Have
A professional-looking music video can be produced with a mirrorless camera, DSLR, cinema camera, or even a modern smartphone when it is used correctly.
Instead of spending most of your budget on a camera body, consider where your money will have the greatest impact on the production.
Depending on your project, useful investments can include:
- A good lens
- Basic lighting
- Audio equipment for production sound when required
- A tripod or stabilizer
- ND filters for outdoor shooting
- Additional batteries and memory cards
The camera is only one part of the visual production. Lighting, composition, movement, performance, and editing have a major effect on the final result.
5. Make Lighting Your Secret Weapon
Lighting can dramatically change the appearance of a low-budget music video.
You do not necessarily need a large lighting package. Start with one or two affordable lights and use the environment around you.
During the day, natural light can provide beautiful results. During evening or indoor scenes, a small LED light can be used to create separation between the performer and the background.
You can also use practical lights such as lamps, street lights, signs, windows, vehicle lights, and decorative lighting as part of the composition.
6. Shoot Multiple Performance Takes
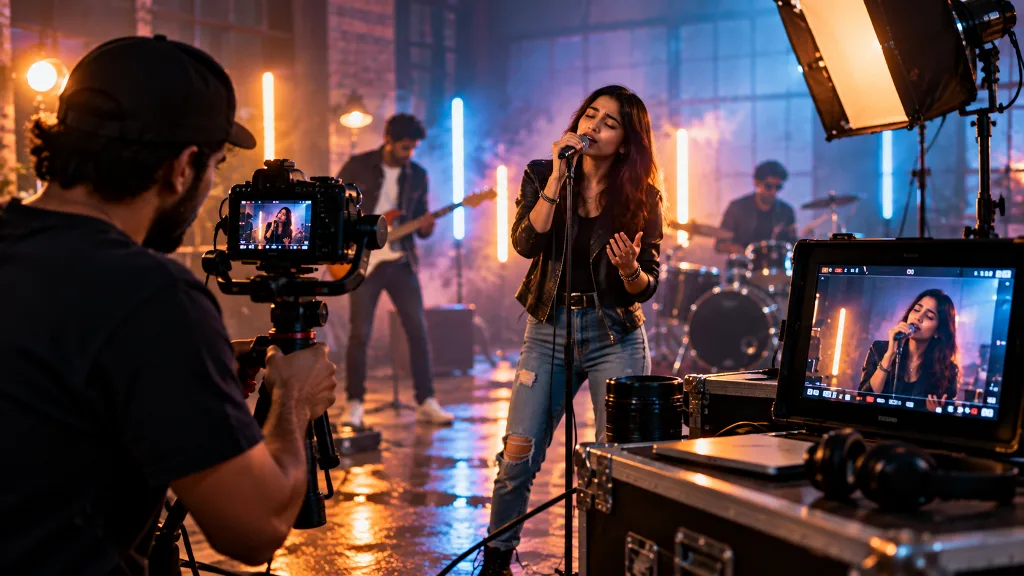
If your music video includes performance shots, record the complete song several times.
Ask the performer to perform the entire track during each take. This gives the editor multiple versions to work with and makes it easier to synchronize the performance with the final song.
Try different compositions for each take:
- Wide shot
- Medium shot
- Close-up
- Moving camera shot
- Side profile
- Low-angle shot
You can then combine these shots during editing to make a simple production feel much more dynamic.
7. Use Camera Movement Carefully
You do not need expensive camera equipment to create movement.
A tripod can provide stable cinematic compositions, while a handheld camera can create energy when used intentionally. A basic stabilizer or gimbal can also be useful for walking shots and smooth movement.
The important thing is to make camera movement support the music rather than moving the camera simply because you can.
8. Shoot B-Roll That Adds Meaning
B-roll gives your editor additional material to build the visual story.
Depending on the song, you could capture details of the environment, hands, clothing, instruments, streets, vehicles, landscapes, shadows, lights, objects, or other elements connected to the story.
Try to capture B-roll from different angles and distances. Even a simple location can produce many useful shots when you look for small visual details.
9. Edit to the Music
Music videos depend heavily on rhythm and timing.
Import the final mastered track into your editing software and organize your footage around it. Mark important beats, transitions, chorus sections, instrumental changes, and other musical moments.
Then use your footage to create visual changes that support the structure of the song.
You do not need to cut on every beat. Sometimes allowing a strong shot to remain on screen for several seconds creates a more cinematic feeling.
10. Use Color Grading to Create a Consistent Look
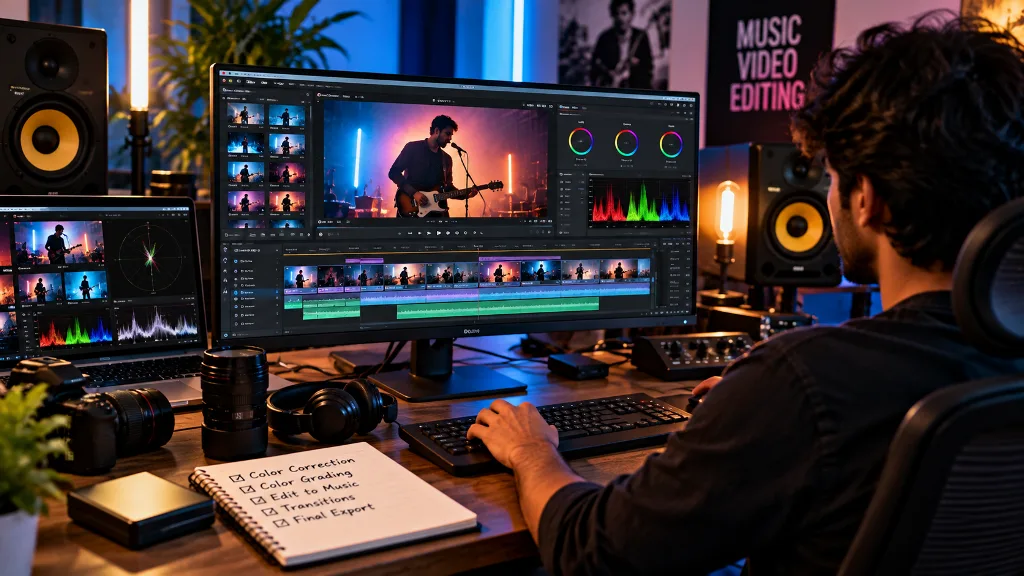
Color correction and color grading can make footage from different shots feel more consistent.
First, correct exposure, white balance, contrast, and skin tones. Then create the creative look for the video.
Avoid applying an extreme color preset to every shot without adjustment. A consistent and controlled look usually feels more professional than an overly processed image.
11. Don’t Overspend on Special Effects
Visual effects can be useful, but they are not necessary for every music video.
Creative production design, lighting, camera movement, practical effects, slow motion, speed changes, transitions, and strong editing can create impressive results without expensive VFX.
If you do use visual effects, concentrate them on a few important moments rather than covering the entire video with effects.
12. Spend Your Budget Where It Matters
When working with a limited budget, prioritize the elements that viewers will actually notice.
A practical low-budget allocation might focus on:
- Production planning
- Location and permissions
- Lighting
- Camera and lens requirements
- Transportation
- Performers and crew
- Editing and color grading
- Final audio and delivery
Reducing unnecessary locations, minimizing shooting days, and planning scenes efficiently can often save more money than simply renting cheaper equipment.
13. Keep the Crew Small
A small production can be easier to manage and less expensive.
For a simple music video, you may only need a director, camera operator, assistant, lighting support, and performer, depending on the production.
For larger concepts, additional crew members may be necessary. The goal is not to use the smallest possible crew, but to use a crew size appropriate for the project.
14. Don’t Forget the Final Audio
A great-looking music video can still feel unprofessional if the final audio is poor.
Always work from the final approved version of the song when synchronizing the video. If dialogue or additional production audio is part of the project, make sure those elements are recorded and mixed properly.
Before publishing, watch the entire video and listen carefully on headphones, speakers, and a phone.
15. Create a Professional Final Delivery
Before publishing your music video, check the final export carefully.
Look for incorrect frames, audio synchronization problems, unwanted black frames, spelling mistakes, exposure issues, and inconsistent color between shots.
Create the appropriate versions for the platforms where you plan to publish the video. Your main music video can also be repurposed into shorter vertical clips for social media.
Low-Budget Does Not Mean Low Quality
A professional music video is ultimately about creative decisions, planning, execution, and storytelling.
You can work with a limited budget and still produce a strong video by concentrating your resources on the elements that matter most. A clear concept, good lighting, thoughtful cinematography, strong performance, careful editing, and consistent color can make a relatively simple production look polished.
Final Thoughts
If you are an independent musician or filmmaker, start with the resources you already have. Build the concept around your available locations, equipment, people, and budget rather than trying to recreate a major-label production.
The goal is not to make the most expensive-looking video. The goal is to create a video that fits the song, communicates the artist’s identity, and gives the audience a reason to keep watching.
For artists and filmmakers looking for professional help with music videos, short films, cinematography, editing, and post-production, Loijaa Studios’ videography services can be a natural next step.